5 tips and tricks for Adobe Illustrator
As a graphic designer, Adobe programs are something I use every single day to create my art. More than anything, to make my art and my work, I use Adobe After Effects, Photoshop, and my personal favorite and my saving grace, Adobe Illustrator.
The Pathfinder panel is a super useful tool when you are working with overlapping objects. There are a few different buttons within the panel that I am going to talk about and explain a little more in-depth.
1: Unite: The Unite button combines all of the objects you have selected into one larger shape.
2: Minus Front: Minus Front will take the object you have selected that is on the top of your stack and create a cut-out in the shape underneath.
3: Intersect: This button creates a new shape by using the overlapping sections of the selected objects.
4: Exclude: This is the opposite of the Intersect button. This cuts out intersecting parts of the objects that are selected.
You can use the Transform Effect to create "live" reflection effects. Live effects are effects that you can apply to an object that can be modified, added, or removed in a non-destructive way. They are super fun to use because when you un-click your mouse after making a stroke, it will appear mirrored. You can create some really intricate symmetrical designs using this.
There are so many things you can do in Illustrator, so many tools, options, effects. Even though I have been using this program for several years, I am still always finding out new things that I can do and use in Illustrator to help me with furthering my art.
In this, I am going to talk about 5 of my favorite Illustrator tips and tricks, including the Pathfinder panel, custom brushes, keyboard shortcuts, text styles and the eyedropper tool, and live reflections.
Pathfinder Panel
The Pathfinder panel is a super useful tool when you are working with overlapping objects. There are a few different buttons within the panel that I am going to talk about and explain a little more in-depth.
1: Unite: The Unite button combines all of the objects you have selected into one larger shape.
2: Minus Front: Minus Front will take the object you have selected that is on the top of your stack and create a cut-out in the shape underneath.
3: Intersect: This button creates a new shape by using the overlapping sections of the selected objects.
4: Exclude: This is the opposite of the Intersect button. This cuts out intersecting parts of the objects that are selected.
Custom Brushes
The fact that you can create so many different brushes in Illustrator is something that I love. I feel like this gives you so much more freedom to create new things, and also share them with others.
So I am going to talk a little bit about how making custom brushes works, and how to do it yourself. First, there are 4 different types of brushes to be made in Illustrator, Calligraphic, Art, Scatter, and Pattern.
To make your own brush, you will first create any shape that you want your brush to be in an Illustrator document. Then open your brushes panel and select the shape that you created. In the brushes panel, select the "New Brush" option and when prompted, choose the kind of brush that you want to make.
Quick Tip: If you change the Colorization option to "Tints" it will give you the option to change colors of the brush like a stroke.
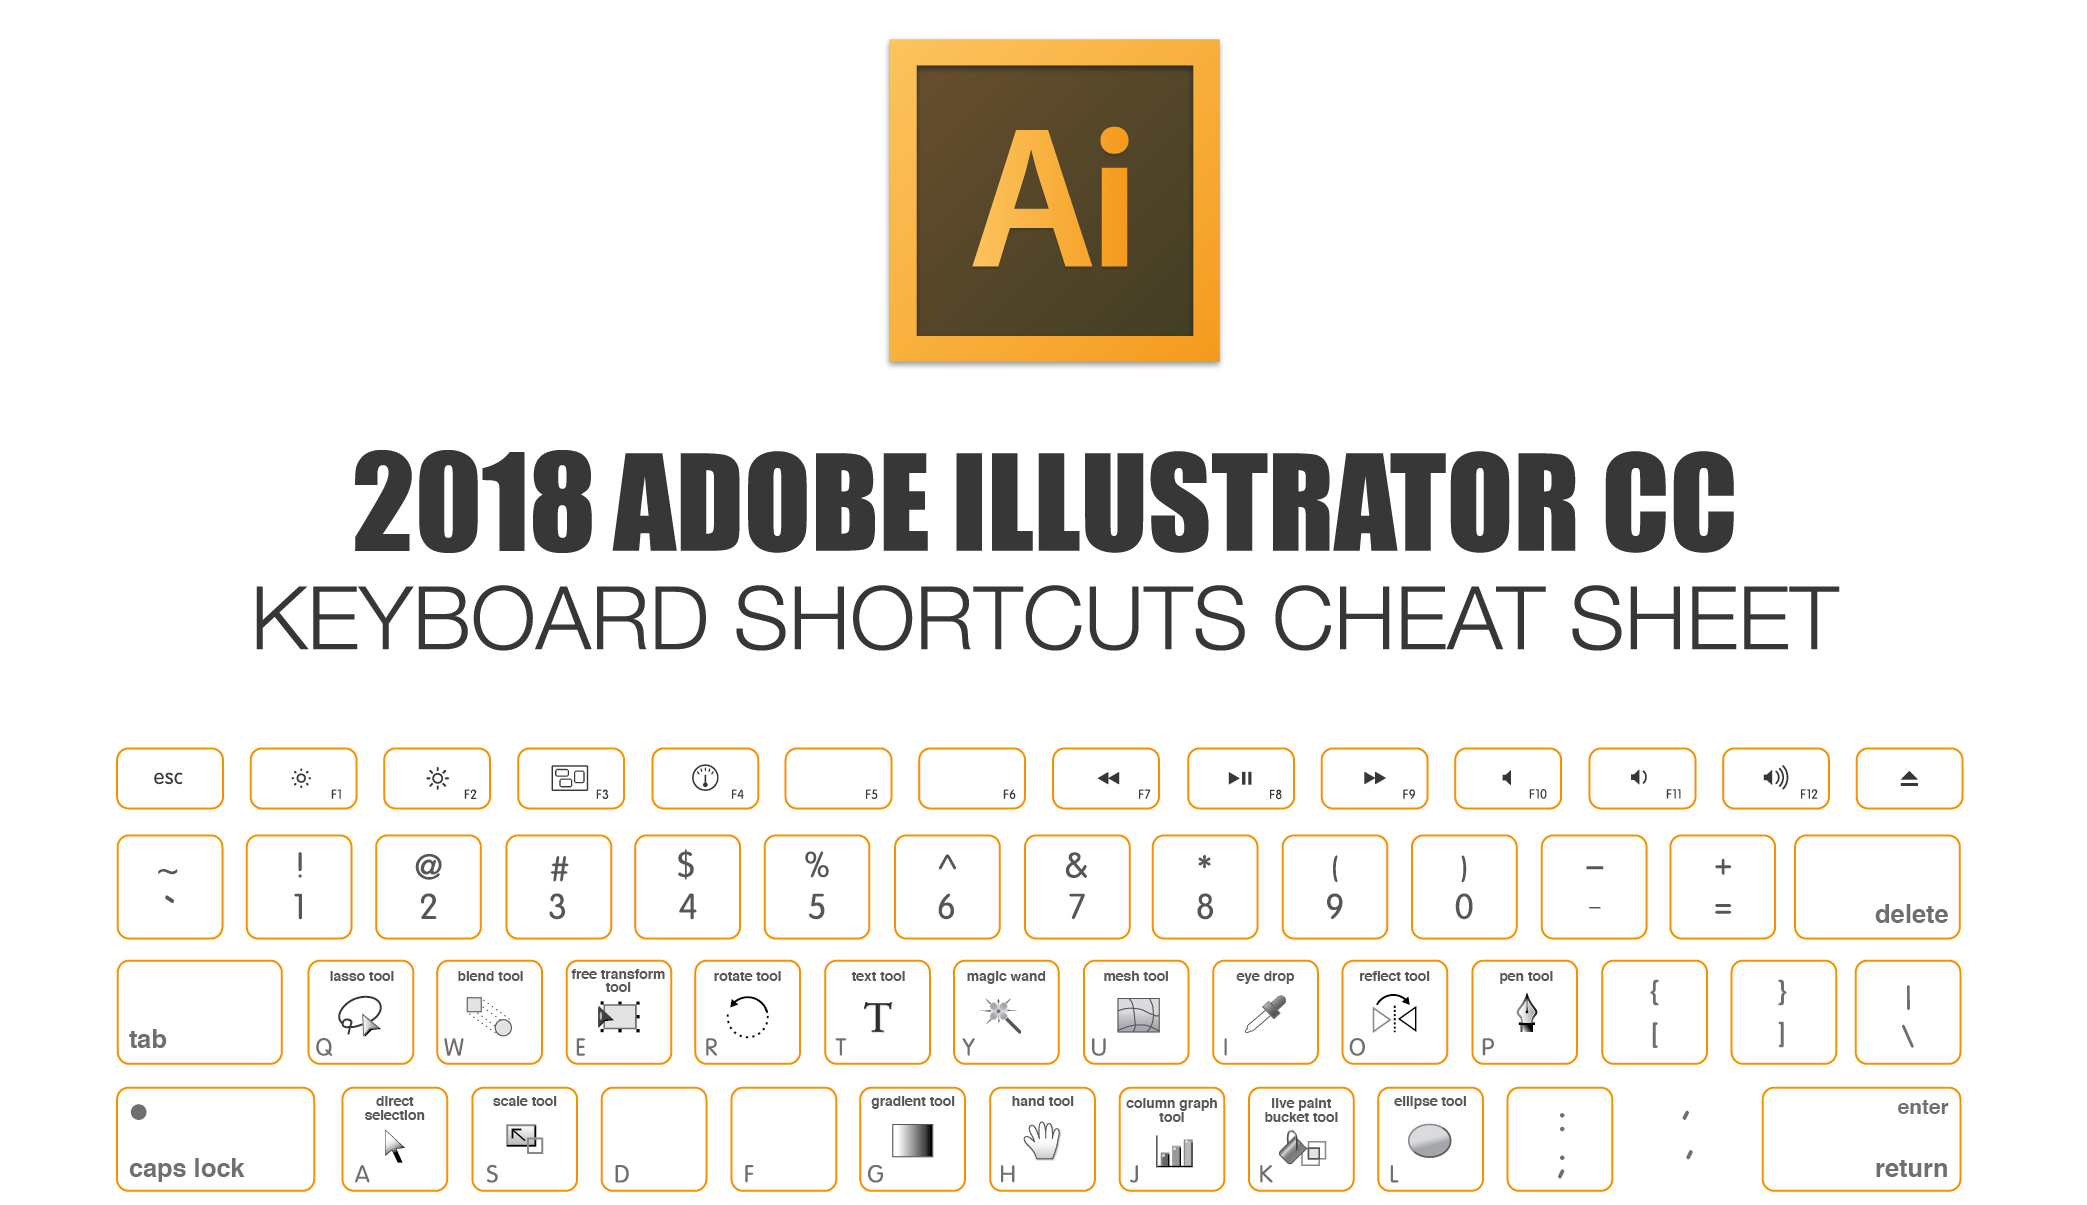
Keyboard Shortcuts
Keyboard shortcuts are one of the most useful things in any Adobe Program. They really do cut down on the time it takes to finish a project.
Some of my most used shortcuts:
V: Selection Tool
A: Direct Selection Tool
I: Eyedropper Tool
O: Reflect Tool
P: Pen Tool
M: Rectangle Tool
L: Elipse Tool
Copying Text Styles with the Eyedropper
Finding an easy way to copy text styles is nice if you are working with a document that has a lot of text in it.
Select the text you want to change with V (Selection Tool), then select the Eyedropper Tool. Using the Eyedropper, click on the text that you want to take the style from. This will change the style of the selected text to that of the text you copied.
Comments
Post a Comment